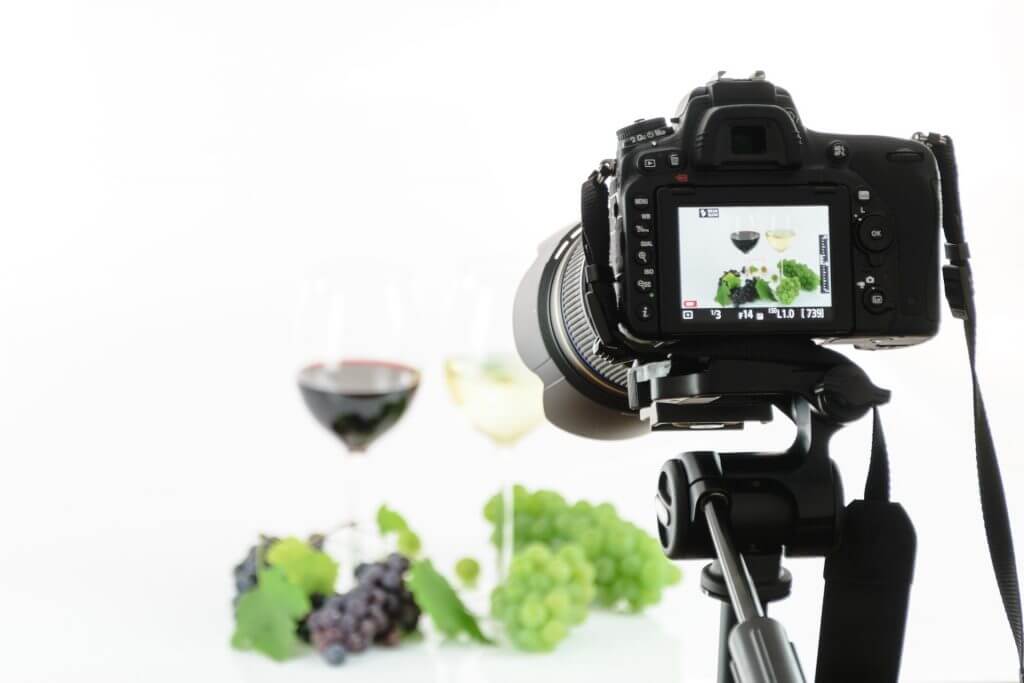
You might think that product and still life photography aren’t as interesting as photographing living subjects. But product photographer like would say “you’re just not doing it right!”.
Product photography can be a very fun endeavour, pushing your creativity to new heights. Here are our 12 tips on how to improve your product photography and make it something amazing!
1. Pick the Right Aperture
It’s important to use the right aperture for the right kind of image. I know that’s a bit obvious, but it’s amazing how often photographers don’t do this!
In my opinion, for product photography it is best to use one of these three for the two most common types of product photography: solid wall studio or lifestyle.

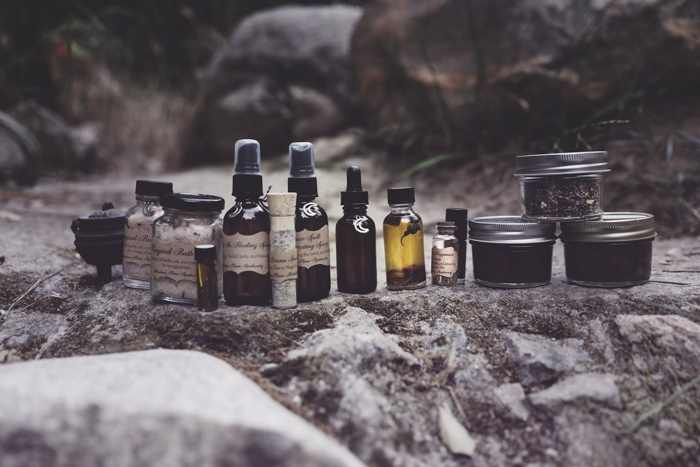
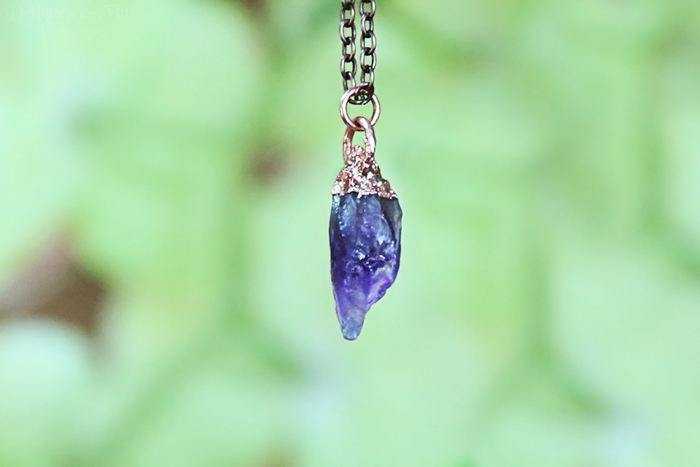
For just the product lifestyle shots, the widest aperture / lowest f-stop is best to make sure that the product is the absolute centre of attention. Everything else should blend into a creamy bokeh. Do make sure that you are shooting far enough away from the product.
This way, none of the product details get lost in the shallow depth of field!
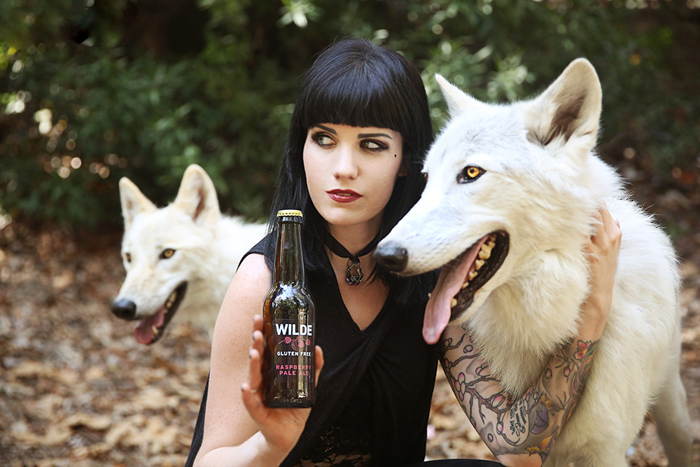
For lifestyle shots that feature a product and either a model or another object, I like to keep the aperture at around 2.8 or so. This allows the product and the secondary subject to remain in focus without the background overpowering the image.
The key is to make sure that what you want the audience to look at is the product you’re showcasing, not the additional elements in the image.
For just product shots in a studio, or a product with a model, a much narrower aperture is great. Your lighting is what will separate the subject from the studio wall, so make sure your aperture is a large enough number to really capture all of the details as sharply as possible.
2. Use a Standard Lens
You want to make sure that your product isn’t distorted in any way. Wide angle lenses and effects lenses really mess with the proportions of the subjects in an image. Because this is product photography, you want all of your photography to accurately represent the product at hand, or you can run into problems with your customers!

Standard lenses, also known as normal lenses, are lenses that are closest in perspective to the human eye. They don’t cause any form of misrepresentation or alteration in the subject.
The most common standard lens focal length is the 50mm, with any focal length between 40mm and 58mm also being considered normal.
3. Product Studio Lighting 101
The key to product studio lighting is making sure that the product is removed from the background and is properly lit. Of course, depending upon the intention of the studio shot (whether it be for eCommerce like Amazon or eBay, or as an editorial for a website) the parameters of the lighting will be different. However, the general consensus is the same.
Though there are product photography kits that aid in lighting, if you aren’t using one of these, here is the basic way to light a product:
-
- Aim two lights at the background on either side of the product. Make sure these are pointing at the background, not the product. This helps separate the product from the wall.
- Aim one light in front of the product and one light above the product. This makes sure the product is properly lit, and the light above will eliminate the casting shadow.
4. Always Use a Diffuser With Artificial Light
You’re always going to want to diffuse your studio lighting to ensure that the lighting spreads across and around your product evenly, rather than casting hot spots (overexposed spots in an image).
Hot spots are unflattering and a pain to retouch. As well as that, diffused lighting works better for white balance than a spot light.
5. Use a Piece of Paper to Eliminate the Horizon Line
You really can! Just take a larger piece of white paper, bend it at the horizon line, and tape to your wall and floor. You want a seamless look, especially for eCommerce photography where you are required to have a product on solid white background.

6. Don’t be Afraid to Experiment with Lifestyle Product Shots
Just because you’re photographing something inanimate doesn’t mean you shouldn’t play around with your photography. If anything, this is the moment to play around with styling because your subject won’t talk back to you! You never know what might look cool.
For example, in the image below, I used a stove cover as a reflective surface instead of a mirror because I liked the grey hue.

7. The Idea Sells the Product
Most marketers will tell you that they key to selling a product is selling the idea of the product. Whether it be tying a product to an appealing lifestyle, showcasing how much more convenient life can be with a product, or how significant the product is to a specific interest – the story of the product will sell it better than anything.
As photographers, we are tasked with creating the story, the ambience, and the world in which the product will reside. As such, try to capture as much of a tale in your shot as possible. This is where your creativity and vision will really shine.

8. Don’t Clutter the Set
That being said… avoid making your image way too busy and distracting with a bunch of elements in it. Remember that your goal is still to sell the product, not make the viewer focus on everything besides the product.
Try to keep the product the centre of attention, whether it be through composition or through clever lighting.

9. Make Sure Your Colours Are Properly Toned
Much the same way that using a standard lens avoids distorting the product, keeping the colours true is just as important. This is fundamental for product photography that centres on colour, such as clothing.
If your photograph alters the colours in any way, that can cause a big issue for both the logistics side of a selling business and the customer side. Imagine ordering light blue denim jeans because you liked the colour online, but what you received was a totally different colour! Not fun!
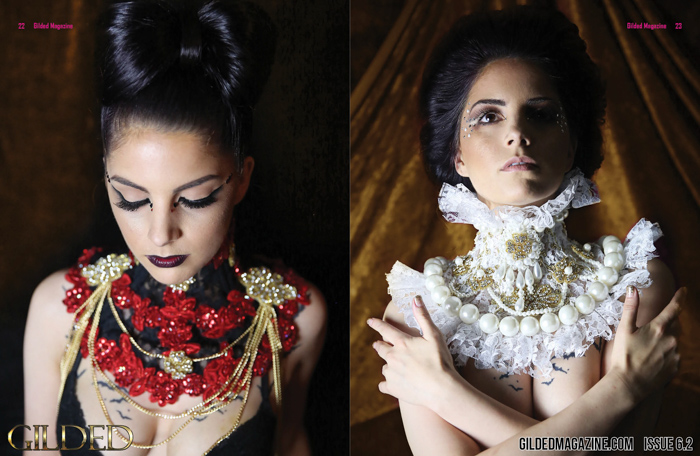
To make sure that your colours are right, check that the lighting you are using is not tinted in any way. White photography bulbs are best, as is an overcast outdoor day. You should also pay attention to your white balance.
In post processing, you can edit colours to try and match the real life product as best you can. After exporting the image, be sure to check the photograph on various devices to see how the colour changes amongst screens (such as viewing the photograph on your computer, a cell phone, a tablet, and older computer, etc).

10. Don’t Forget About Colour Theory
For lifestyle product shots, colour theory is key to attracting the right customers. This is the study of how colours affect human psychology. In basic terms, this means that certain colours or colour combinations bring out a specific idea, emotion, or characteristic in a person.
Studying colour theory and understanding it can lead to a great photography career. You’ll be able to take advantage of this to influence the way your viewers react to a photo.

In product photography, colour can help sell or attract the customer. Here’s a quick explanation. 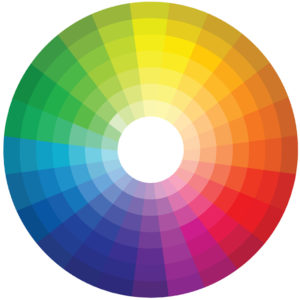
If you pull up a colour wheel, here are the four types of colour combinations you can use in your product photography:
Complimentary
With the complimentary approach, pick colours that are opposite each other. This creates a very dramatic and dynamic colour palette in your image, with lots of contrast.
Split Complimentary
This is similar to the complimentary look but is a bit easier to achieve and less bold. After picking two opposite base colours, also use two adjacent colours to the initial ones.
Triadic
This approach uses colours that are evenly spaced around the colour wheel. It makes for very vibrant colours that tend to be eye-catching and flashy.
Analogous
The analogous approach uses colours right next to each other. Using colours that are so close together creates a sense of comfort and nature.
11. Pay Attention to Reflections
You don’t want a weird reflection on your product! This is one of the most common mistakes new product photographers make. Pay attention to how your lighting, or even yourself, reflects in the product.
Either make use of the reflection and include it in the image, or remove the reflection altogether.
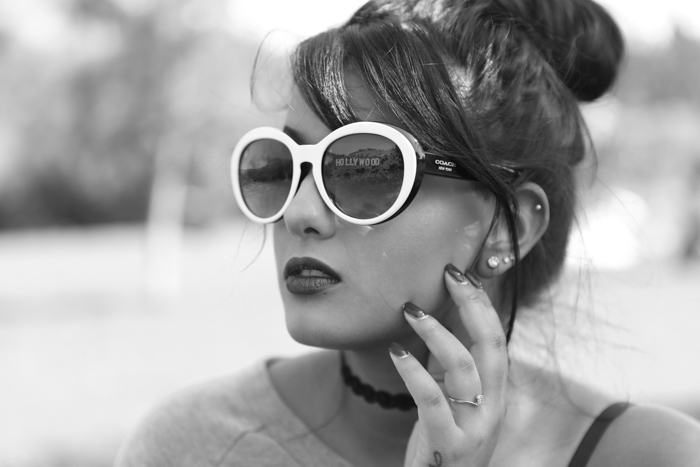
The best way to remove a reflection is to either shift yourself in such a way that you no longer capture the reflection, or retouch to remove it.
12. It’s Okay to Break the Rules
Everything you read above? These are tips and guidelines. It’s okay to break the rules when the job calls for it. Just use your better judgement. Like in this shot below!

Bonus: Product Photography Ideas for Beginners
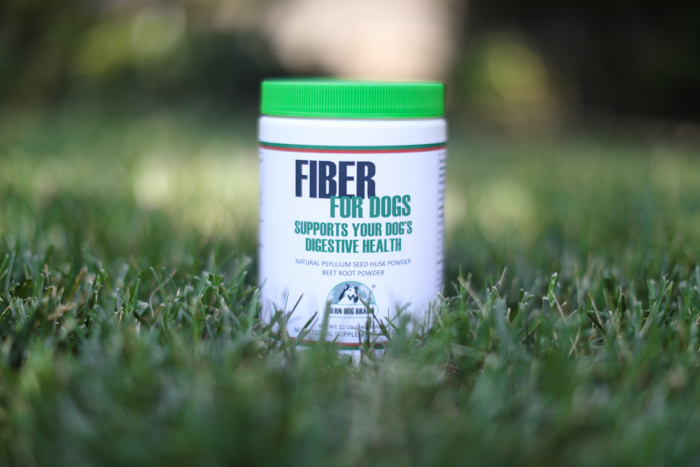
Use Nature
This can be a forest or a beach and everything in between.
Some products do well with nature as a background, especially since nature evokes a powerful emotion in people.
Home Setting
Some products do excellent in a home environment and sell the idea of comfort, so photographing in a cool home space is a great idea.
Involve a Pet
Pets photos are some of the most popular on the internet. Involving an animal in your product photography might just get you the views you’re looking for.

Involve Children
Using children in images influences the idea of safety, comfort, and fun in a viewer. For some products, this is ideal!
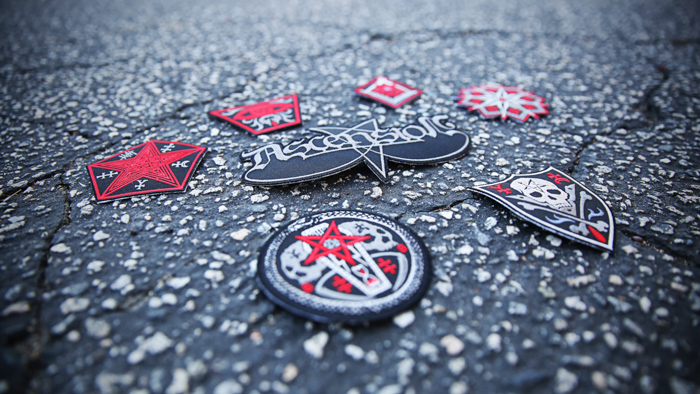
Try an Urban Street Setting
Some types of products are super hip, edgy, and cool. Photographing them in an urban street setting can sell this idea brilliantly.
So go forth and use these product photography tips for your next session!
